
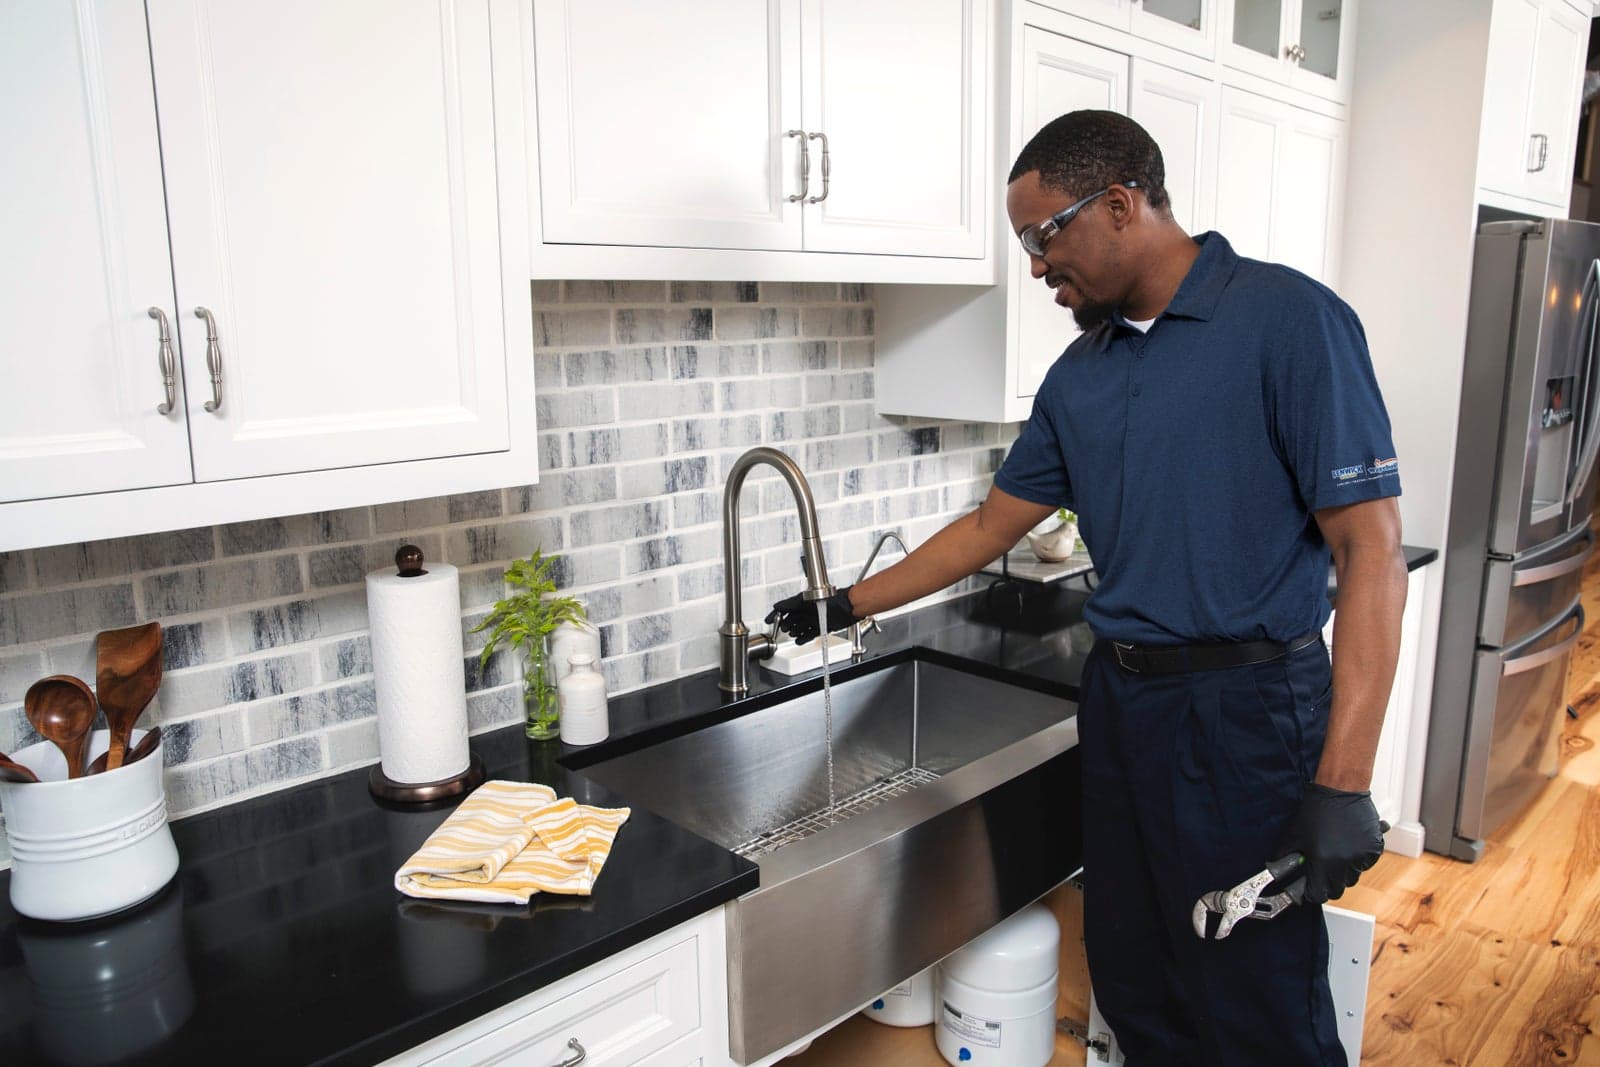
Fixing a leaky faucet starts with identifying which of four types you have: compression, cartridge, ball, or ceramic disk, because each hides a different worn part. Shut off the water at the under-sink valves, plug the drain, disassemble in order with photos as you go, and replace the washer, O-ring, cartridge, or seals. If it still drips afterward, the valve seat or a mismatched part is usually why.
On this page:
Before You Start
Which of the 4 Faucet Types Do You Have?
The Fix, Type by Type
Bathtubs, Showers, and Outdoor Faucets
Still Dripping? Why Repairs Fail
FAQs
A dripping faucet is the smallest plumbing problem in the house and somehow the most maddening. Drip by drip, it also adds up to real water on your bill.
The repair itself is usually a worn rubber part that costs pocket change. The trick is knowing which part, and that depends entirely on which kind of faucet you own.
Before You Start: Shutoffs, Tools, and One Smart Habit
Turn off the water at the two shutoff valves under the sink (righty-tighty until they stop), then open the faucet to drain what's left in the lines.
If those valves won't budge or keep seeping after closing, stop here. Seized shutoffs are common in older homes, and forcing a corroded valve can turn a drip into a geyser. Replacing them is its own quick professional job.
Gather: an adjustable wrench, screwdrivers, a hex key set, needle-nose pliers, and plumber's grease. Then two habits that save every faucet repair: plug the drain so tiny screws can't escape, and photograph each step of disassembly so reassembly has a map.
Which of the 4 Faucet Types Do You Have?
Identify before you shop, because the replacement part depends on it:
What you see | Type | The part that wears out |
Two handles that tighten with resistance | Compression | Seat washer + O-ring |
Single or double handle, smooth up/down and side motion | Cartridge | The cartridge + O-rings |
Single lever on a dome cap, often older kitchens | Ball | Springs, seats, and O-rings (kit) |
Modern single handle, short quarter-turn feel | Ceramic disk | Inlet seals under the cylinder |
Rule of thumb: if turning the handle feels like compressing something rubbery, it's compression. If it glides, it's one of the other three, and the dome cap with a visible set screw is the ball's signature.
The Fix, Type by Type
Compression faucet (the classic two-handle)
1. Pry off the decorative cap on the leaking handle and remove the handle screw. 2. Lift the handle off and unscrew the packing nut beneath it with your wrench. 3. Unthread the stem and pull it out. 4. Replace the rubber seat washer at the stem's base (one screw holds it) and the O-ring on the stem body, matching sizes exactly. 5. Inspect the valve seat down in the faucet body with a flashlight; if it feels rough or pitted, that's why washers keep dying (more on that below). 6. Reassemble, restore water, and test both hot and cold, because each handle has its own stem.
Cartridge faucet (the most common modern type)
1. Remove the handle (set screw is often hidden under a cap or behind the lever). 2. Remove the retaining clip or nut holding the cartridge, noting its orientation before anything moves. 3. Pull the cartridge straight up with pliers. 4. Take it to the store and match it exactly; cartridges look alike and are not interchangeable. 5. Coat the new cartridge's O-rings with plumber's grease, seat it in the same orientation, and reassemble.
If hot and cold come out reversed afterward, the cartridge went in rotated 180 degrees. Pull it and turn it around.
Ball faucet (single lever, dome cap)
Ball faucets hide the most small parts, so buy the full repair kit rather than individual pieces. 1. Remove the set screw and lever, then unscrew the cap and collar. 2. Lift out the cam, washer, and ball. 3. With needle-nose pliers, extract the rubber seats and springs from the two small sockets in the body, and replace them with the kit's new ones. 4. Replace the O-rings on the spout body. 5. Rebuild in reverse, using the kit's alignment notch for the ball.
Ceramic disk faucet (the quarter-turn modern one)
The ceramic cylinder itself rarely fails; its rubber inlet seals do. 1. Remove the handle and the escutcheon cap. 2. Unscrew and lift out the cylinder. 3. Pull the inlet seals from the underside and clean the openings gently (mineral grit here causes most disk-faucet drips in our hard-water areas). 4. Install new seals, reseat the cylinder, and reassemble. 5. Restore water slowly with the faucet open; a blast of pressure can crack a ceramic disk.
Bathtubs, Showers, and Outdoor Faucets
A dripping tub or shower is usually the same cartridge repair with two complications: the valve lives inside the wall, and there are often no local shutoffs, which means shutting water at the house main before starting. Shower cartridges also seize in place over years of mineral exposure, and the special puller tool the job sometimes demands is where many DIY afternoons end.
Anything requiring wall access, a seized cartridge, or valve-body replacement belongs with a plumber. That's honest advice, not gatekeeping; a cracked in-wall valve is a wall repair plus a plumbing repair.
Outdoor hose bibbs deserve a mention in Florida, where they drip year-round without a freeze to blame. Most take the same washer repair as a compression faucet, and a bibb that drips from the handle when running needs its packing nut snugged a quarter turn.
Still Dripping? Why Faucet Repairs Fail
Four culprits explain nearly every repair that doesn't take:
The valve seat is pitted. A new washer pressed against a corroded seat still leaks. Seats can be dressed with an inexpensive seat-dressing tool or replaced with a seat wrench, and if that's out past your comfort, it's a fast professional fix.
The cartridge wasn't an exact match. Close doesn't count. Match by brand and model, or bring the old one to the counter.
Mineral grit got in. Debris under a new seal re-creates the leak. Flush lines briefly before final assembly.
The faucet is simply done. Fifteen-plus years old, corroded body, wobbly base, or a discontinued cartridge line: at that point replacement beats a third repair. What drives that decision is fixture grade, mounting configuration, and the condition of the shutoffs beneath it, and we're happy to price it as a free estimate.
Faucet out-stubborning your repair, or shutoff valves that won't cooperate? Seized valves, in-wall tub cartridges, and drips that survive new parts are exactly what we carry on the truck — Fenwick + Waychoff's has served the greater Jacksonville area for nearly 60 years with same-day service, upfront pricing, and our "Always On-Time, Guaranteed" promise. Call 904-217-5694 and our sink and faucet repair team will finish it today.
Faucet Repair and Replacement From Fenwick + Waychoff's
Whether it's one washer, a whole-house faucet refresh, or the upgrade you've been putting off, our licensed plumbers handle it with 24/7 availability and next-day installation.
Bring us the drip; keep the afternoon. Call 904-217-5694 or book online with Fenwick + Waychoff's plumbing services today.
Frequently Asked Questions
What causes a faucet to drip?
Worn rubber, almost always: a seat washer in compression faucets, O-rings and cartridges in modern ones, springs and seats in ball faucets, or inlet seals in ceramic disk models. Hard water accelerates all of them by depositing grit that abrades seals every time the faucet operates.
How do I know what type of faucet I have?
Feel the handle. Resistance that tightens like a screw means compression. Smooth gliding means cartridge, ball, or ceramic disk: a dome cap under a single kitchen lever suggests ball, a short quarter-turn feel suggests ceramic disk, and most everything else is cartridge. The parts diagram for your model confirms it.
How do you fix a dripping faucet with two handles?
That's typically a compression faucet. Shut off the water, feel which side drips (hot or cold), remove that handle and packing nut, pull the stem, and replace the seat washer and O-ring. Check the valve seat for pitting while it's open, because a rough seat destroys new washers quickly.
Why does my faucet still drip after replacing the cartridge?
Usually one of three reasons: the replacement wasn't an exact model match, debris lodged under the new seals during assembly, or the leak's real source is a worn valve seat or faucet body rather than the cartridge. If a correct, clean cartridge still drips, the faucet itself is likely at end of life.
How much water does a dripping faucet waste?
More than it looks like. A faucet dripping once per second wastes roughly 3,000 gallons per year, per the EPA's WaterSense program. In Florida, that waste runs year-round, which is why the smallest repair on this page still pays for itself.
When should I replace a faucet instead of repairing it?
Replace when the faucet is 15 or more years old, the body is corroded or mineral-crusted, the base wobbles, repairs keep failing, or its cartridge line is discontinued. A repair that has to be repeated is a replacement decision being postponed, usually at higher total cost.
Related Articles
What do you need help with today?
Heating
No heat, strange smells, rising bills? We repair and replace heating systems to keep your home reliably warm.
Air Conditioning
AC blowing warm air? Uneven cooling in your rooms? We fix cooling issues fast and keep your system running smoothly all summer.
Plumbing
Our highly trained plumbers handle it all, from leaky faucets to full system installations and repipes.
Electrical
The smartest team in town. You need repair, installations, wiring, inspections, lighting — you name it.